WebP is an image file format developed by Google for displaying images on the web. WebP supports lossy compression like JPEG as well as lossless image compression formats like the PNG images.
WebP images are designed for the web and have 26 to 30% smaller file size compared to JPG and PNG images but with no difference in quality. The smaller file size means they will load faster in web browsers, significantly improving the load times of webpages. They would also reduce the bandwidth and storage requirements of websites.
WebP images are currently supported by all the major Web Browsers like Google Chrome (both Android and desktop versions), Microsoft Edge, Mozilla Firefox & Opera. In Safari browser on iOS, the support for WebP was added with version 14 and later.
Content Management System WordPress added support for WebP in their latest WordPress 5.8 version, released in July 2021. So, now you can upload and use WebP images in your WordPress sites like any other image file format.
How to Convert images to WebP file format
There are many ways to convert images to WebP file format. There are websites where you can upload your images and then download the converted files. You can also use any third party convertor program for converting your images.
If you don’t want to upload your images to any website due to privacy concerns and don’t trust any third party app, then the method described below is the right choice for you. We would be converting the images to WebP by using encoding tools released by Google.
Convert to WebP using Google’s cwebp Encoder
WebP conversion tools were released by Google for developers after it released the WebP file format in the year 2010. WebP being an open source project, all the image encoders/decoders are available for free download.
You can use this encoder to convert either a single image or entire folder of images to WebP file format. It can convert all the major image file formats like JPG, JPEG, PNG and GIF to WebP file format. The steps given below would explain the conversion process in detail.
Step 1
You can download all the tools and encoders from this Google Developers page. The very first link on this page would take you to the download repository page. Alternatively, you can click the following link to directly open the download page.
Click here to visit the Download page.
All the latest releases are given at the bottom of the download page. Scroll down and download the appropriate version for your system. We are using a Windows 10 64 bit PC so we downloaded the 64 bit version from the following link.
Download 64 bit Version for Windows 10
If you are using a Windows x86 system then download the x86 version.
Step 2
After downloading the zip file extract it by, Right clicking and selecting Extract All, in the context menu.
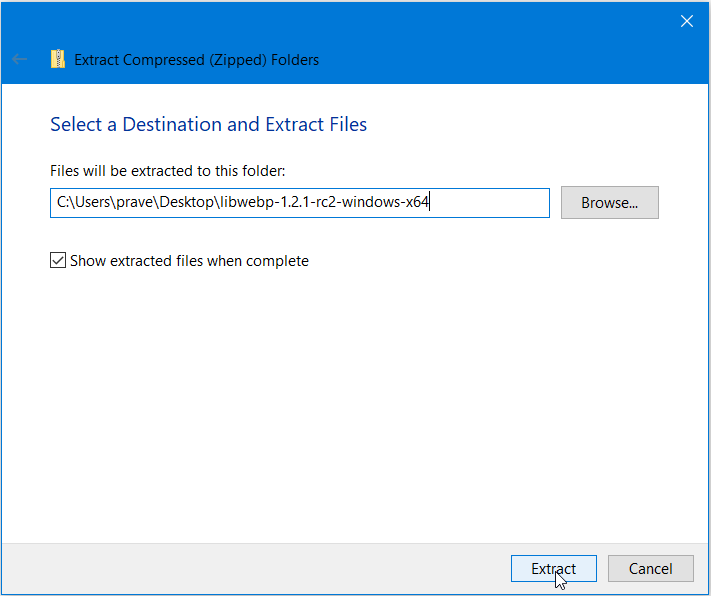
Open the extracted folder. Inside, you would find a subfolder with the same name. Open that folder and copy all the files and folders present inside.
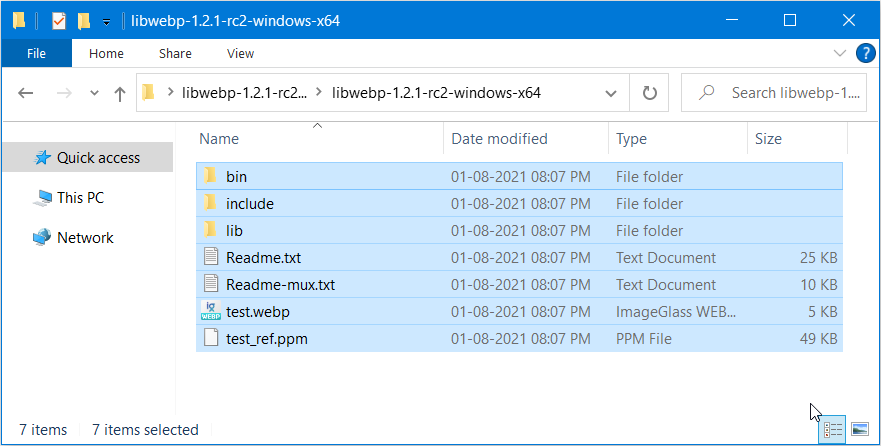
Create a new folder on your Desktop and rename it to CwebpConvert and paste everything you copied inside the CwebpConvert folder.
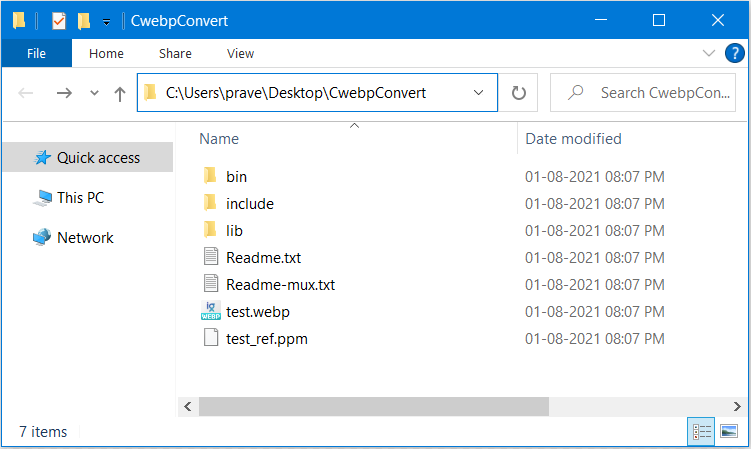
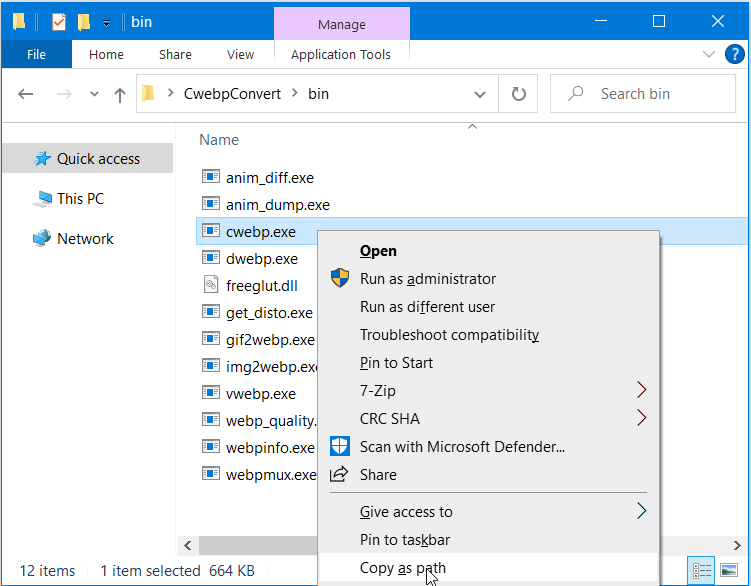
After copying the files open the bin sub-folder inside CwebpConvert folder. Inside the bin sub-folder you would find, cwebp.exe file. You have to copy the path of this file.
To copy the path, press and hold the Shift key and then right click on the cwebp.exe file and select Copy as path from the context menu.
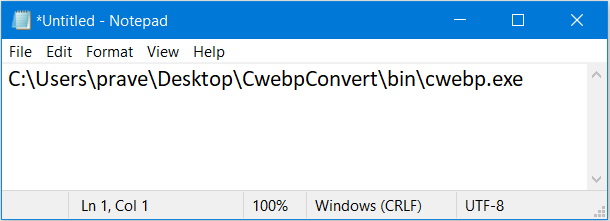
Open the Notepad app and paste the path in the Notepad window and remove the opening and closing quotes.
Step 3
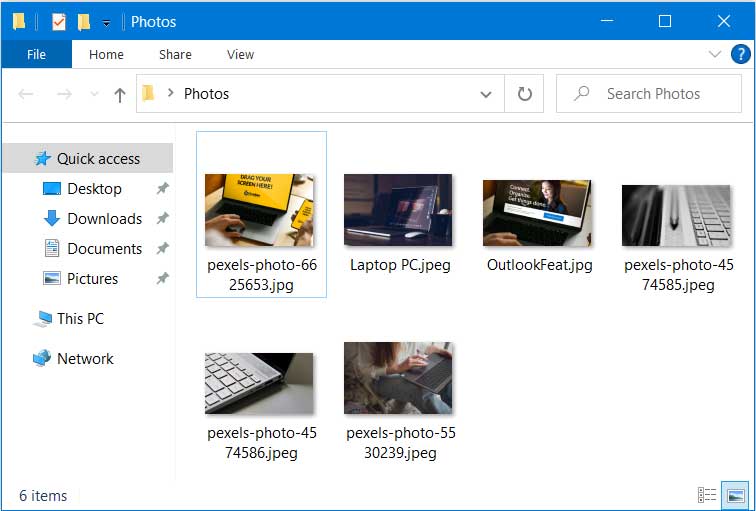
Create a new folder on your Desktop and name it Photos. Move all your JPEG or PNG images, you want to convert, inside the Photos folder.
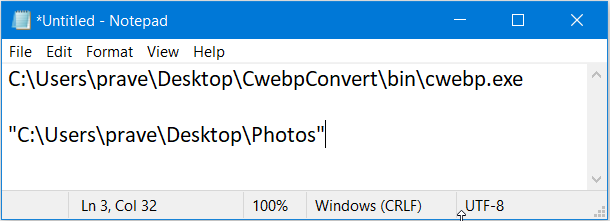
Now copy the path of the Photos folder in the notepad. To copy the path, press and hold the Shift key, then right click on the Photos folder and select Copy as path from the context menu. Paste the copied path in the notepad window.
Step 4
Now we will use, Windows PowerShell app to convert all the images in the Photos folder to WebP file format. But, before that, copy the following code in a separate notepad window.
$dir = "C:\Users\prave\Desktop\Photos"
$images = Get-ChildItem $dir
foreach ($img in $images) {
$outputName = $img.DirectoryName + "\" + $img.BaseName + ".webp"
C:\Users\prave\Desktop\CwebpConvert\bin\cwebp.exe -q 75 $img.FullName -o $outputName }
In the code given above, replace the path in the first line with the path of your Photos folder. In the last line of the code replace the path with the path of your cwebp.exe file, which you have copied in the notepad.
Step 5
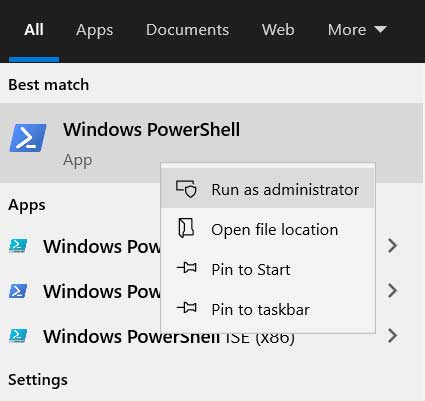
After modifying the code, open the Windows PowerShell app. You can search for the app in the Start menu search box and then right click and select Run as Administrator to open it with elevated privileges.
Paste the code in the PowerShell window by pressing Ctrl+V and hit Enter.
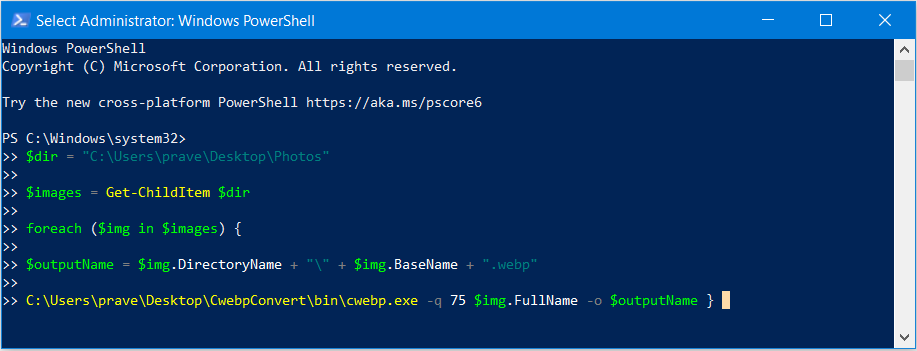
PowerShell would start converting the files, one at a time. The conversion time would depend on the total number of files in your Photos folder.
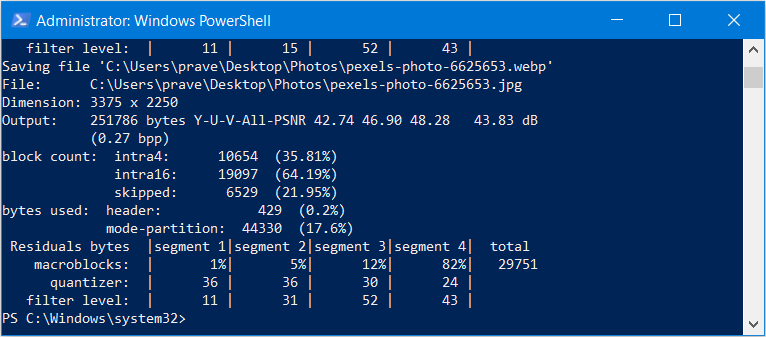
After the conversion is finished the Photos folder would contain copies of each photo with the same filename but with .webp extension.
You can right click anywhere in the folder and then select Group By > Type from the context menu to separate the WebP from the JPG images.
Convert the images using Online convertors
If you are not comfortable using the method described above then you can also use online convertors. Please be aware that this method would require you to upload your photos online to a site. You should avoid uploading your personal images to sites you can’t trust.
You can use online apps like Squoosh to convert your images to WebP. You can open Squoosh app online by visiting https://squoosh.app. It’s an open source project and the source code is available on Github.
NOTE: Please be aware that the link to the Squoosh app is being provided for your convenience and does not constitute an endorsement, approval or sponsorship by us. Proceed only, if you are willing to trust this site.
Click on the add image link and then select the images on your PC.
After uploading the images click on the dropdown on the right side, under the Compress heading and select WebP from the dropdown list.
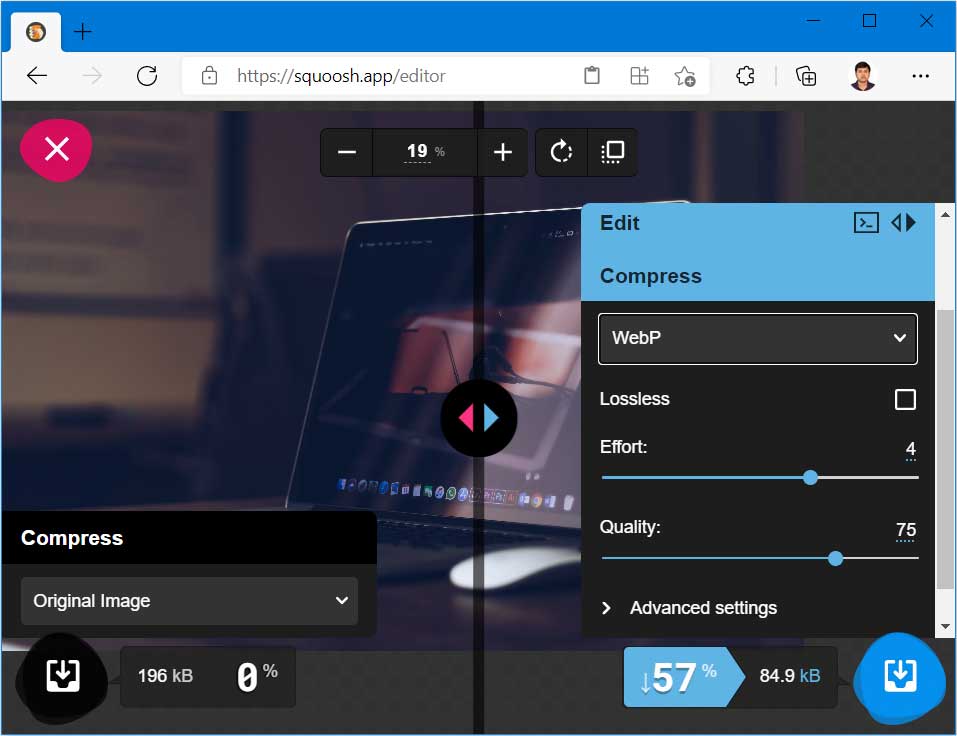
Squoosh would show the percentage reduction in the filesize and the actual size of the WebP file after conversion. You can straightaway click on the download button in the lower right corner to download the WebP version of your uploaded image.
How to open WebP images
WebP images are not natively supported in some of the Windows 10 apps like Photo viewer or the Photos app and they can’t open WebP images. However, the Paint 3D and Paint app can open WebP images for editing. You can also convert the WebP images back to JPG or PNG. For detailed steps you can visit the following link.
RELATED: How to Save or Convert WebP images to JPG or PNG
You can also use the Microsoft Edge, Google Chrome or Opera browser in Windows 10 to open the WebP images. Right click on the WebP image file, select Open with in the context menu and select one of these apps to open the image.
Apps like Photoshop do not natively support WebP images but you can add WebP support using plugins.

