

Google Forms lets you create quizzes and surveys right in your mobile and web browser. Moreover, you don’t need any software, tools or knowledge of coding to use Google Forms. Your Forms are saved in your Google Drive
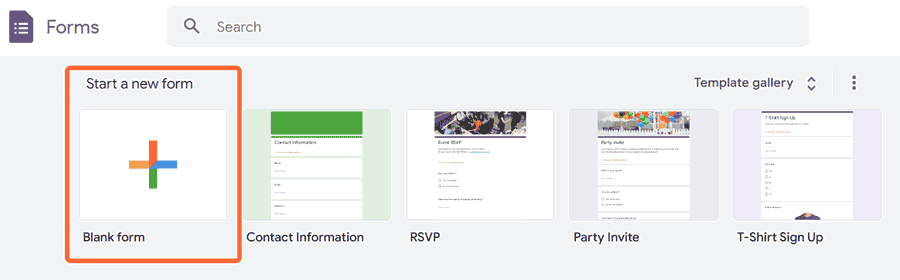
The quickest way to open Google Forms is to open forms.google.com. Then click on the Blank form icon in the top left.
You can also open a form in Google drive. Just open Google drive by visiting drive.google.com. Click on the + New in the top left.
Then select Google Forms > Blank quiz.
Steps to Create a Quiz in Google Forms
Visit forms.google.com and then click on the Blank Form icon in the top left.
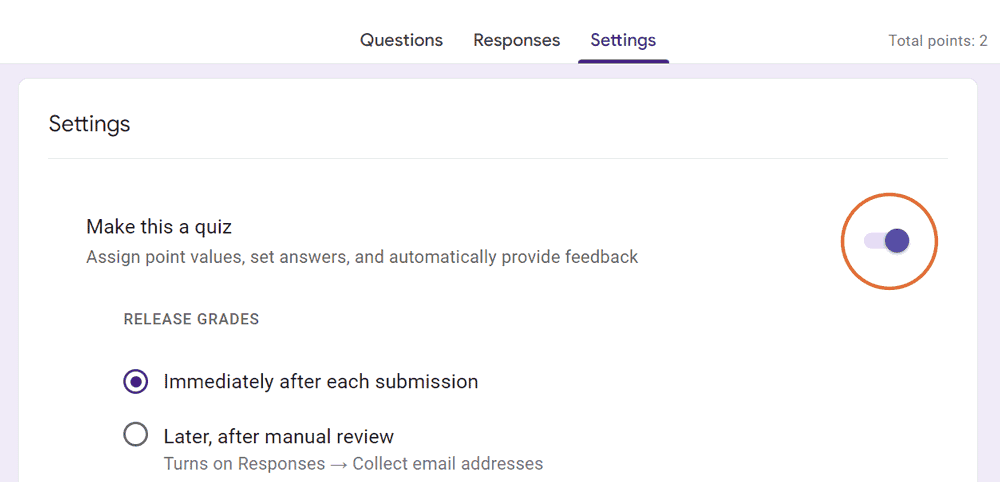
Then click on the Settings tab and make sure that the “Make this a quiz” setting is toggled On.
Select the Questions tab to add questions for your quiz. Write your first question by clicking on Untitled Question. You can add the options for the answer by clicking on Option 1. You can add more options by clicking on Add option.
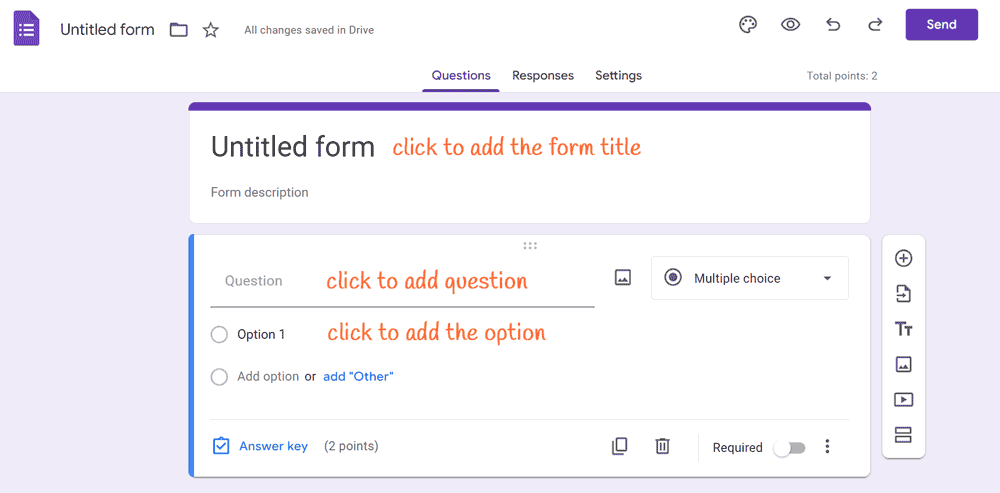
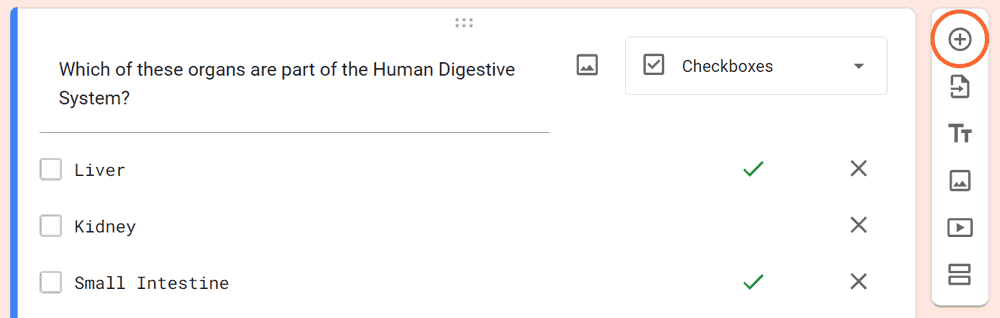
Once you have added all the options for the answers. You can specify the correct answer for the question. To do that click on “Answer Key” in the bottom left of the question panel.
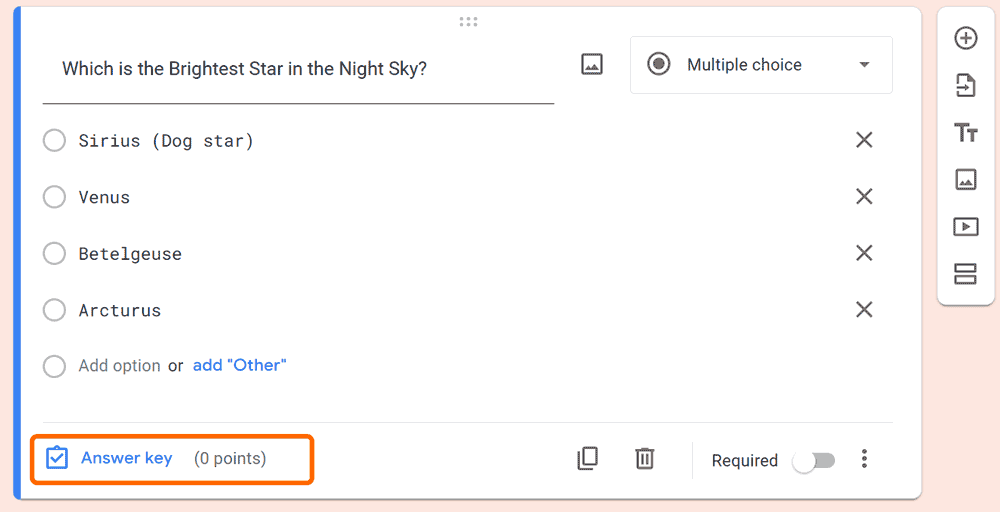
Then select the correct option or the answer. You can also add an answer feedback by clicking on Add Answer feedback. This allows you to add text that will appear when the quiz taker either selects the correct answer or a different text when he selects the wrong answer. You can also allot points for the correct answer by clicking on “points” in the top right of the question panel. Then click on the Done button in the bottom right corner.

To add a new question you can click on the Add Question button in the toolbar at the right.
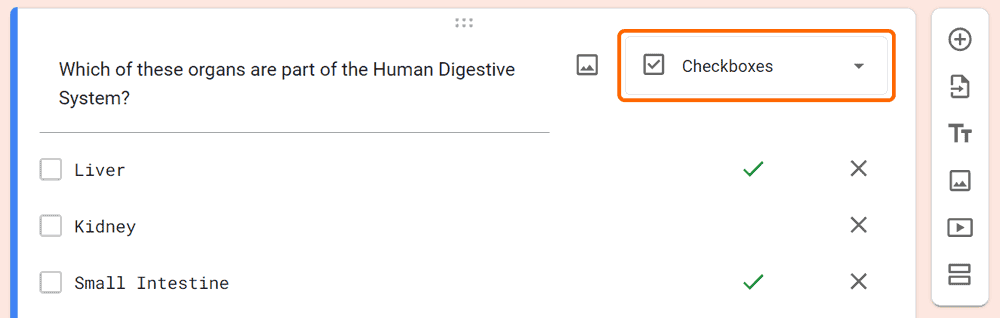
You can also change the question type from Multiple Choice question to one with Checkboxes by clicking on the drop-down next to the question.
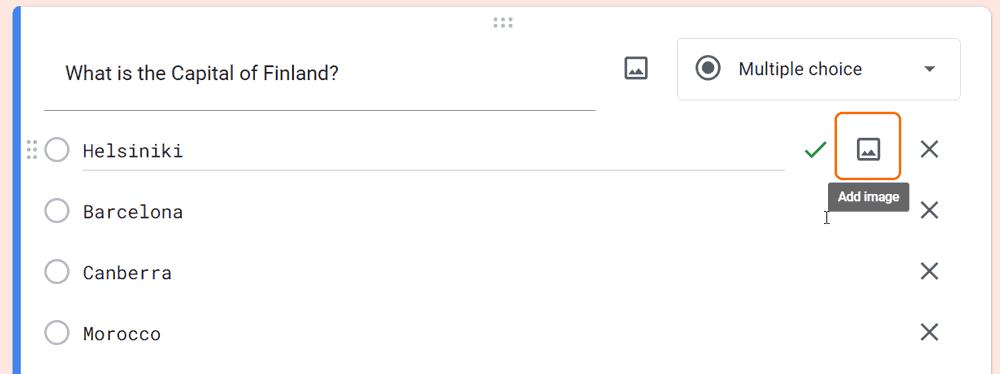
Moreover you can also assign an image to each option. Which would appear along with the option.
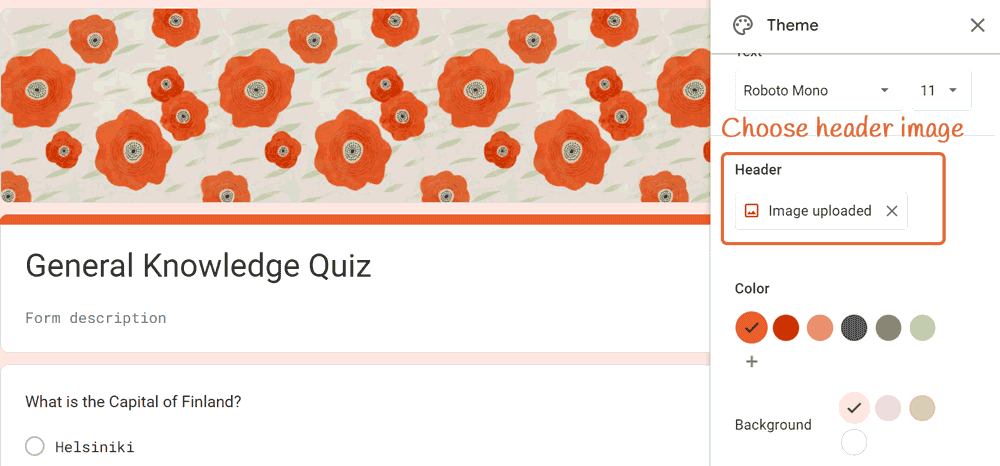
You can also change the header image by clicking on the Customize Theme icon at the top.

Once you have added all the questions, you can Share it or Send it in an email or get an embed code to add it to a webpage.
Send Google Form as Email, Embed in Webpage, Get Shareable Link
Click on Send button at the top, when you are done creating the form.

Then Select from the Email, Share or Embed tabs. You also get buttons to share the form on Facebook and Twitter in the top right.

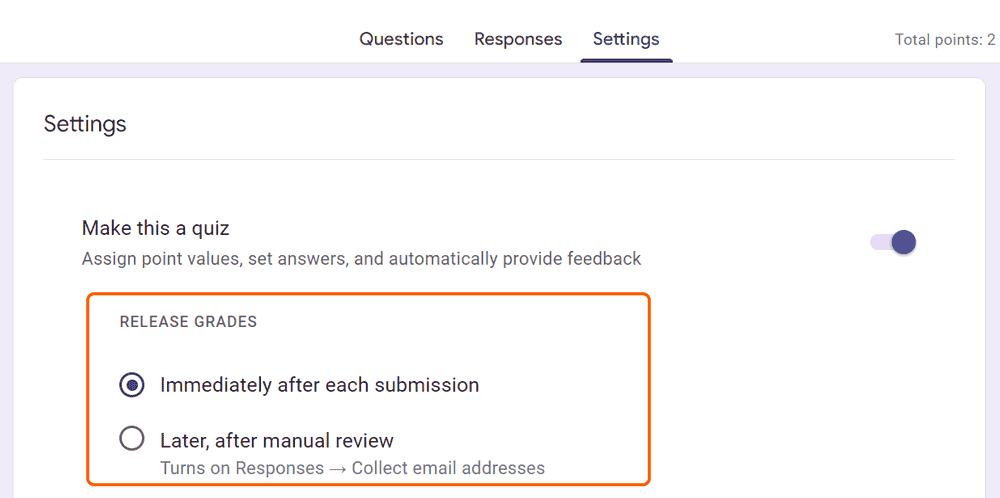
Release the Grades or the Answers
You can either release the answers immediately after each submission or you can wait for all respondents to take the quiz and then release the answers after a manual review. This can be done under the Responses tab under RELEASE GRADES.
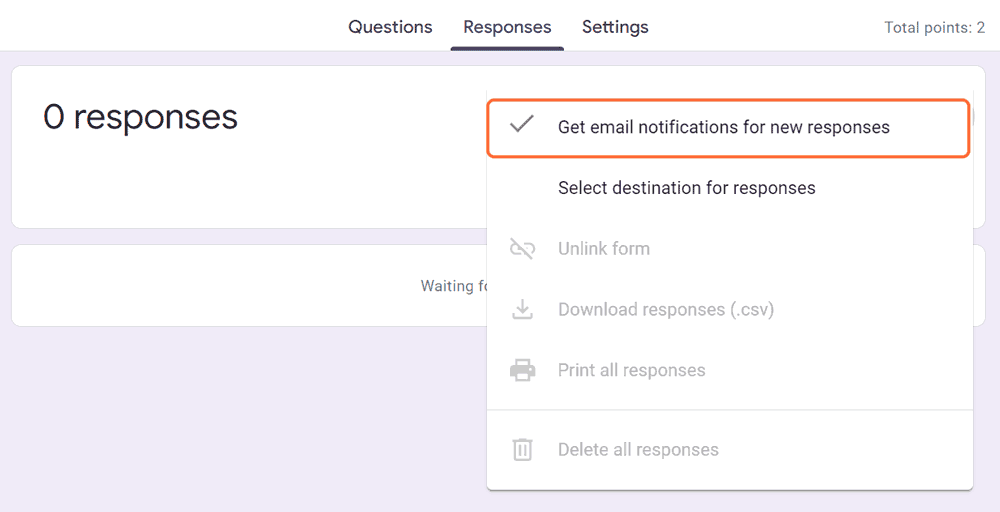
Get Email Notification When Someone Take the Quiz
You can enable email notifications by clicking on the Responses tab at the top. Then clicking on the three dot icon and then selecting “Get email notifications for new responses”
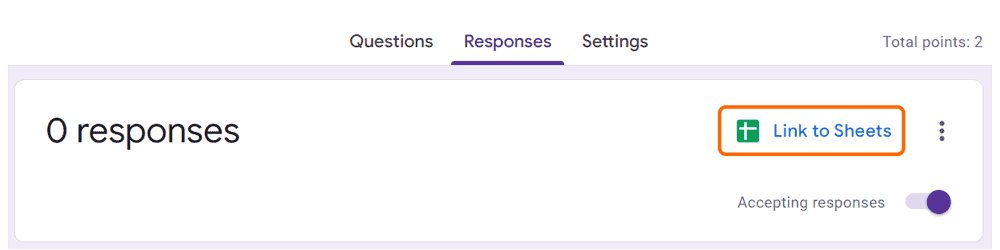
Save all the Responses to a Spreadsheet
Select the Response tab at the top and then click on the Link to Sheets button.
Then Choose an option on the next screen:
1. Create a new spreadsheet: Creates a spreadsheet for responses in Google Sheets
2. Select existing spreadsheet: Choose from your existing spreadsheets in Google Sheets to store responses
Click Create or Select.
This will save all the responses to a spreadsheet file in your Google Drive If you keep responses in a spreadsheet, you have a separate file in Google Drive. You can delete the spreadsheet or the form without deleting the other connected file. If you delete any responses in a form, it can’t be undone.
The Responses tab would also show all the Responses and Insights generated from all the quiz respondents and their answers. Here, we have embedded the quiz we just created.